
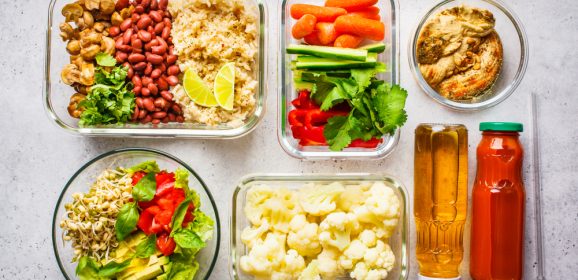
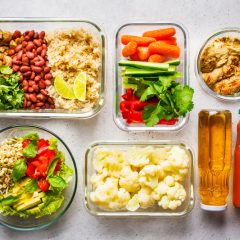
5 Healthy Dinners to Meal-Prep on Sunday for an Easier Week
There’s nothing quite like coming back to a delicious homemade dinner. However, it can be difficult to come up with ideas of what to make that are both healthy and enjoyable. That’s why we’ve put together this list of five delicious and nutritious meals you can prep on Sunday for an easier week. From delightful vegetarian dishes to scrumptious meat-based ones, these meals are sure to please you and make your life a...
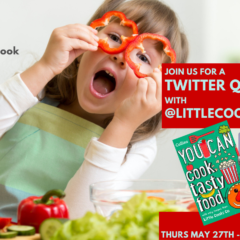
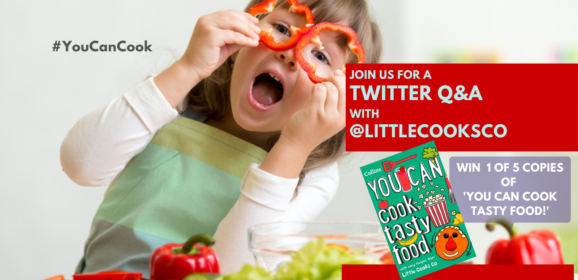
YOU CAN cook tasty food – easy tips to get kids cooking. WIN!
Tomorrow we have a live Twitter Q&A with Helen Burgess (@LittleCooksCo), author of the new “YOU CAN cook tasty food”. If you’re looking for some half term inspiration, or you have a budding young cook who keeps invading your kitchen, then tomorrow lunchtime we may have just the thing you’re looking for. Helen Burgess is a qualified nutritionist and founder of Little Cooks Co., the award-winning monthly cooking kits...
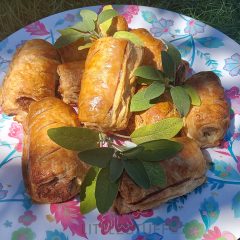
DELICIOUS – easy sausage rolls recipe. Just TWO ingredients!
Because you can’t rely on cheap supermarket sausage rolls. ugh. Just no. We all know that when you get that craving you’re looking for the warm, crispy, flaky, meaty goodness of a fresh-baked sausage roll. A pasty, soggy pale thing that’s been in a wrapper for a day just doesn’t come close, does it? The plate is part of Tesco’s Summer range, and is the Batik range giant charger, available in stores for a...

Easy Ways to Make Your Own Designed Cupcakes
A study showed that time spent in the kitchen would alleviate stress and anxiety, and also boost awareness. The cooking and baking process not only contributes to improving mood and emotions (I’m definitely a comfort baker – often cracking out the mixer and pans at 9 in the evening), but also naturally enhances the feeling of satisfaction achieved by the look of the finished product. Baking has become something of a...
School Dinners Cornflake Tart – remember?
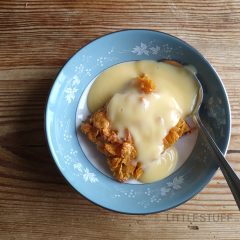
The real, actual, proper, straight-from-the-school-cooks-mouth recipe for 1970’s School Dinners Cornflake Tart. For some strange reason I have had a longing to make this for ages. On chatting to various friends-of-a-certain-age about school dinners, one dish was universally clamoured after, no matter where we went to school. The School Dinners Cornflake Tart. You remember it? Thin Pastry base, layer of jam, then crunchy golden...
Easy Pavlova Recipe – simple, delicious and NEVER fails
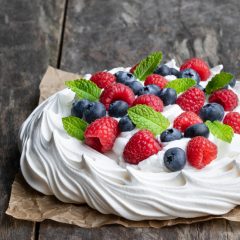
This Easy Pavlova Recipe, it really is the most amazing thing. It’s funny, I didn’t make pavlova for years – purely because I thought it was really hard and complicated. Meringue is tricky, right?Not so! It’s dead easy. And universally popular – everyone always comes back for seconds, there really won’t be any leftovers. easy Pavlova By Elena Zajchikova | Shutterstock This Easy Pavlova Recipe Serves...