
Well, that was the challenge from Dulux, using their Bedroom In A Box Marvel Avengers.
No.3 son has been living in our spare room for four years now. The only modifications we did to make it ‘his’ were a few space stickers and some pictures on the wall: it really was time that he had his own look. When Dulux promised we could do it in one day, we were sceptical… but thought it would be worth a try.
The day dawned; we had told the boy nothing, and he was shipped out for the day so we could get to work in his absence.
This is how his room looked before we began:
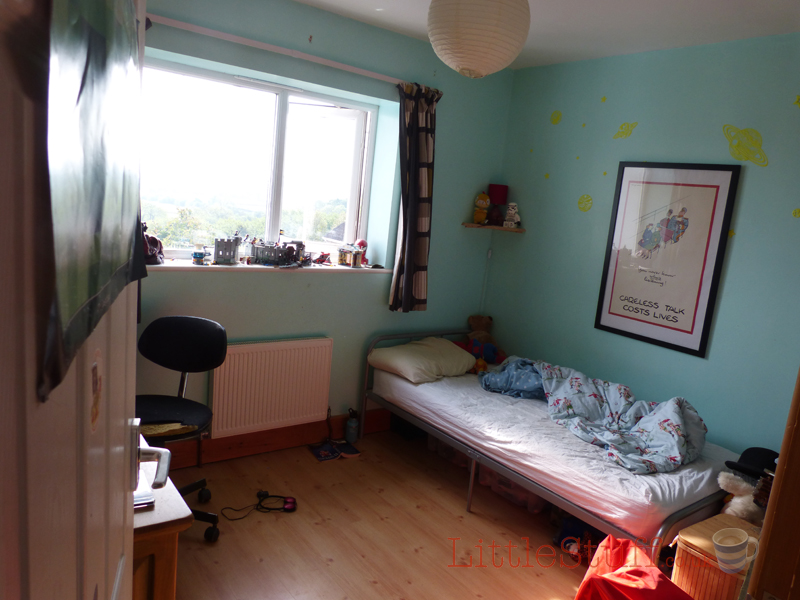
Not hideous, but not exactly a 10yr old boy’s Perfect Room, either.
So we stripped out everything (yikes, one boy can stash a LOT of stuff down the back of his bed…), filled the holes left behind when we moved the curtain poles last year, and scrubbed clean the windowsill. The wooden skirting boards and doorframe are only oiled, so no painting needed there which would speed up the process.
On cracking open the Bedroom In A Box I was really pleased with the contents: aside from the magnificent Avengers wall covering I had brushes, wallpaper paste, colour co-ordinated wall paint (‘First Dawn’, a really nice shade of blue), and white satin for the woodwork too. Presuming you already have a paint roller & tray, paste table and wallpaper hanging equipment, you really do have everything you need for your room in one box. Actually, cutting it down to those few items makes it all seem much more manageable, and far less of a huge undertaking. By this stage I was actually thinking I could totally do the room in a day – up to this point I had scoffed at the idea, always presuming I needed to clear 2 or 3 days to redecorate just one room.
We got cracking with the painting first – obviously no need to paint the wallpaper wall, so three walls only. The paint went on well (the walls were already plain painted plaster, so a good surface to work on), and the tin was enough to cover one coat, then go round and touch up with a skimpy second coat where needed. We used every last dreg, but ended with a nice finish once it had dried (which it had done by the time we’d finished eating our lunch).
Next was the woodwork – for us just the one window sill which was already glossed, so just a dead easy freshening overcoat. But we did notice how easily the satin went on, how quickly it dried and how little smell it left – we’ll definitely be using it again.
And so, with everything else done, we had the final stage to go. The Wall Covering.
Now I’m pretty handy with the old wallpapering, so I wasn’t too concerned about this part (ignoring the fact that I had a camera crew recording every cock up, and an expert from Dulux checking in every now and then to ‘see how I was doing’. It felt like having a teacher watching you in a practical exam…).
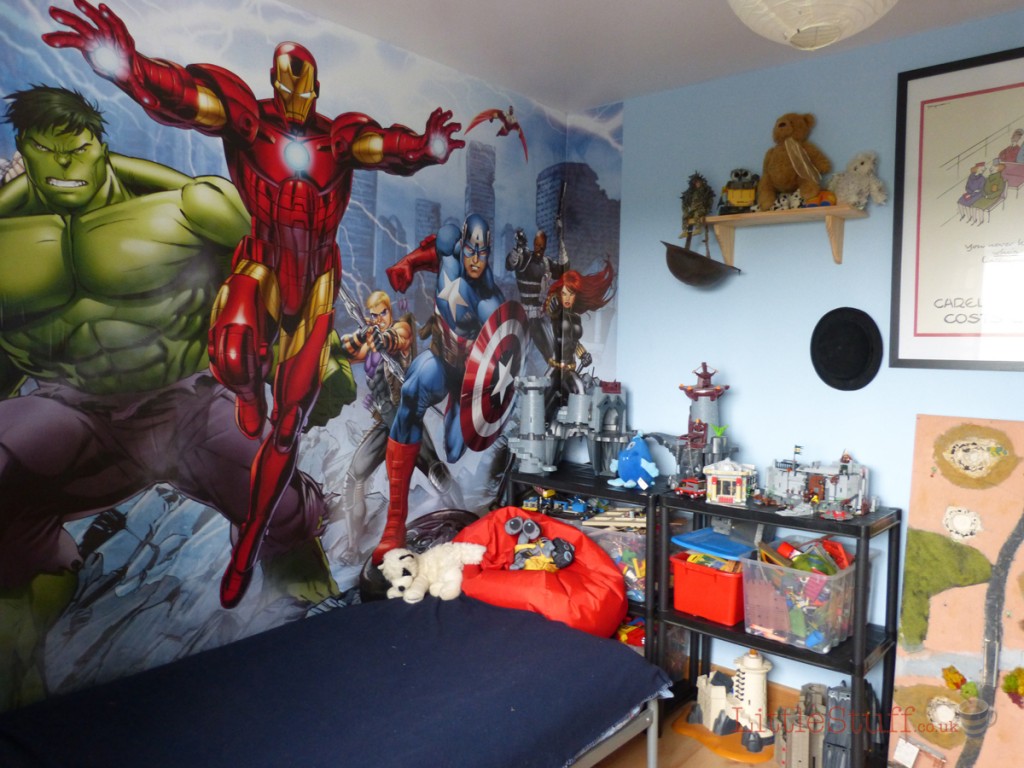
The mural is separated up into 12 sheets, which cover an 8’x10′ area of wall.
I pulled off the first sheet, checked it against the image on the box and found it to be the top left panel – as good a place as any to start.
Then it was simply a case of slapping on the wallpaper paste and getting it on the wall. I found that too much paste made the paper curl quite a lot, but by panel 3 I had the paste-to-paper ratio down to a fine art.
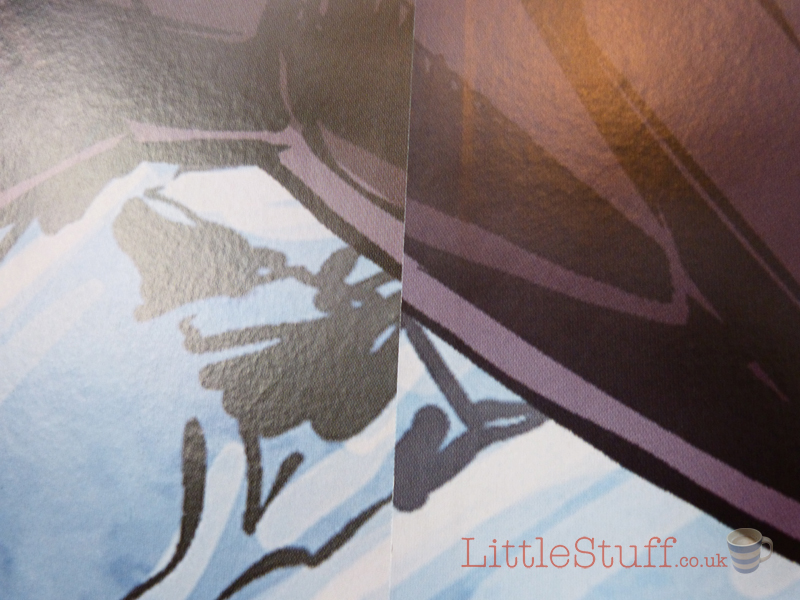
I used a plumb-line for the first one to make sure it was straight, and worked from that one for the rest. Working left to right, I did all along the top row first – the roll of panels was in that order, so I just went with it. The mural panels have a clearly marked overlap guide which makes for really easy hanging; as long as your first one is straight, and the wall you’re putting them on is straight, it really couldn’t be simpler. In all honesty I was dubious about how they’d match up – this was never going to look any good if the picture ended up in a mis-matched jigsaw effect.
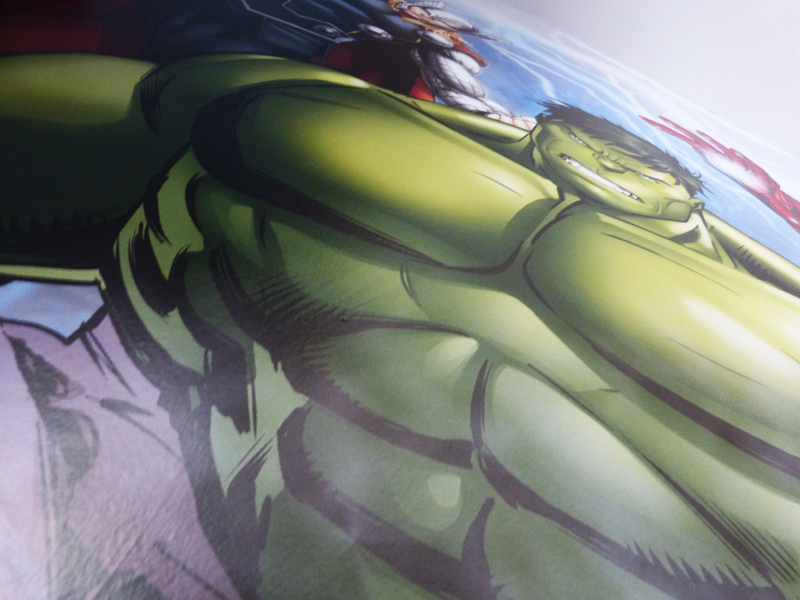
But in fact only one panel doesn’t match perfectly – Hulk’s thigh is about a cm off when his waistband is matched, but no one noticed except me so I kept quiet.
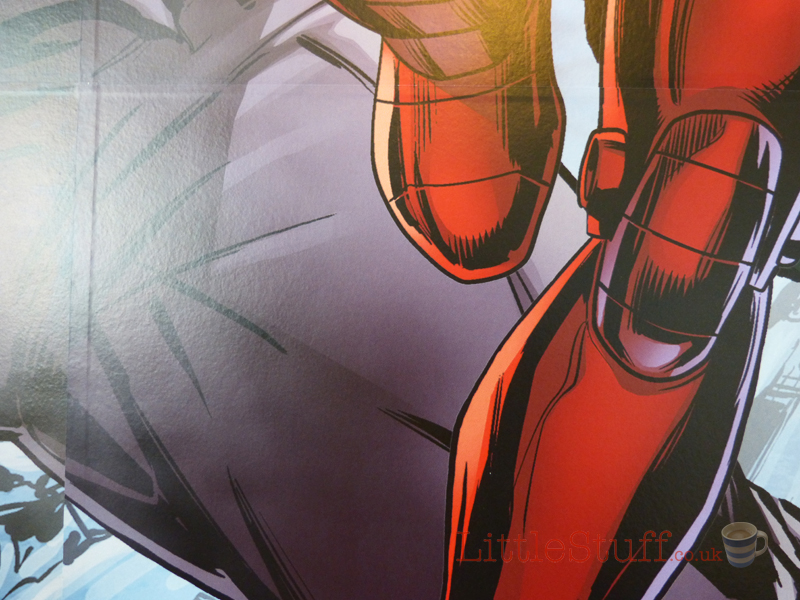
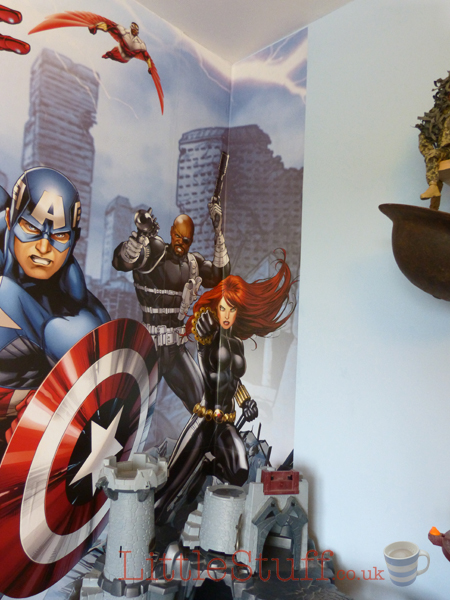
The panel was a little too wide for the wall, but instead of chopping up the buxom lady hero on the end (Black Widow, apparently…) we opted to wrap around the corner, which looks great. I did trim top and bottom, but only a very small amount.
Start to finish, even accounting for stops for the film crew to get in the way, the whole wall took me less than an hour start to finish. Wall papering is NOT meant to be that easy!
Once it was complete, and we’d stood back with mouths open to smugly admire for a while, it was a quick burst of activity to re-fill the room, and then we could proceed with the Grand Reveal.
The boy’s not one for being overly expressive (he greeted every single one of his 8th birthday gifts with “oh, that’ll come in handy.”
But I think an instantaneous “Whooooooaaaahhh!” and a gobsmacked face speaks a thousand words. And when it’s followed up with “It’s awesome!” then my work is done.
Take a look – we’re the greenish room with the pile of boys who leave at the beginning and then file in “Wooah”-ing and “awesome!”-ing at the end…

The Bedroom In A Box kit is a properly clever idea. It’s not that you can’t get these things separately – of course you can. But one of the biggest things that puts me off decorating a room is the whole collating-all-the-bits saga. Choose the feature, then find a matching paint colour, and make sure you’ve got brushes, and have we got any woodwork paint left in the shed from 5 years ago… This way you pick one box, and all those time-consuming decisions are made for you. As long as you have the basic wallpapering kit, then buy the box and you’re ready to go.
And even with a film crew in the room (interrupting and slowing us up and getting in the way…), we still managed to empty, redecorate and then rebuild the complete room in under 6 hours.
Dulux no longer make the Marvel version of this mural, but you can pick up something similar on eBay here
Trackbacks/Pingbacks