
There’s something genuinely special about growing flowers from seed. Whether you’ve got a sprawling border, a handful of pots, or just a modest window box, raising your own plants gives you far more choice than buying ready-grown, and the sense of satisfaction when they finally flower is hard to beat. With a bit of patience and the right conditions, you can put together beautiful displays perfect for summer bedding plants that keep going for months.
Why grow bedding plants from seed?
For a start, it’s much kinder on the wallet. But beyond cost, growing from seed opens up a world of variety that you simply won’t find on the shelves of your local garden centre. You get to choose exactly what goes where, the colours, the heights, the textures, and build something that feels genuinely yours.
There’s also something to be said for the process itself. Watching a tiny seedling push through compost and slowly become a proper, flowering plant never really gets old, even once you’ve done it a dozen times.
Choosing the right seeds
Before you buy anything, have a think about your space. Is your garden mostly sunny, or do parts of it sit in shade for much of the day? Does the soil drain well, or does it tend to sit wet? The answers will shape which plants are likely to do well for you.
Some reliable choices to get you started:
- Marigolds – tough, bright, and very forgiving
- Cosmos – fast-growing with lovely, delicate flowers
- Nasturtiums – cheerful and edible, brilliant in containers
- Petunias – a classic for good reason, with blooms that just keep coming
A mix of varieties will help keep things looking good right across the season.
When to sow your seeds
Timing matters. Most bedding plants do best when started indoors in early spring, somewhere between February and April is usually right. Getting them going inside gives them a solid head start and means you’ll see flowers earlier.
That said, if indoor space is limited, plenty of varieties can be sown directly outside once the frosts are genuinely behind you, typically from late April onwards. You might wait a little longer for blooms, but it’s perfectly workable.
A warm windowsill, a greenhouse, or a propagator will all do the job well. Seeds want warmth, light, and steady moisture, get those three things right and you’re most of the way there.
How to sow seeds successfully
It’s a straightforward process, but a few small things do make a difference:
- Use good-quality compost: A fine seed compost works best. Don’t be tempted to use garden soil, it’s usually too heavy and can harbour pests or disease.
- Sow thinly: It’s easy to tip in too many. Spreading seeds evenly saves a lot of crowding problems later on.
- Cover lightly: Some seeds need light to germinate; others need to be buried a little. The packet will tell you which, it’s worth reading properly.
- Water gently: A watering can with a rose head, or a fine mist spray, will do the job without washing everything to one corner of the tray.
- Keep warm and moist: A lid or a piece of cling film over the tray helps retain moisture until the seedlings appear.
Caring for your seedlings
Once things start sprouting, light becomes really important. Without enough of it, seedlings go long and weak, what gardeners call “leggy.” A sunny windowsill usually does fine, though turning the trays now and then helps everything grow evenly.
When they’re big enough to handle, you’ll want to prick them out into individual pots. It sounds more complicated than it is, you’re just giving each plant its own space so the roots can develop properly.
Water regularly, but go easy. Compost that stays soggy is just as bad as compost that dries out completely.
Hardening off before planting out
This is a step that a lot of people skip, and it often shows. Before your plants go outside for good, they need time to adjust to life outdoors, the cooler nights, the wind, the fluctuating temperatures.
Put them outside for a few hours each day and gradually extend that time over a week or two. Bring them back in if a cold night is forecast. It sounds a bit fussy, but it really does make a difference to how well the plants settle once they go in the ground.
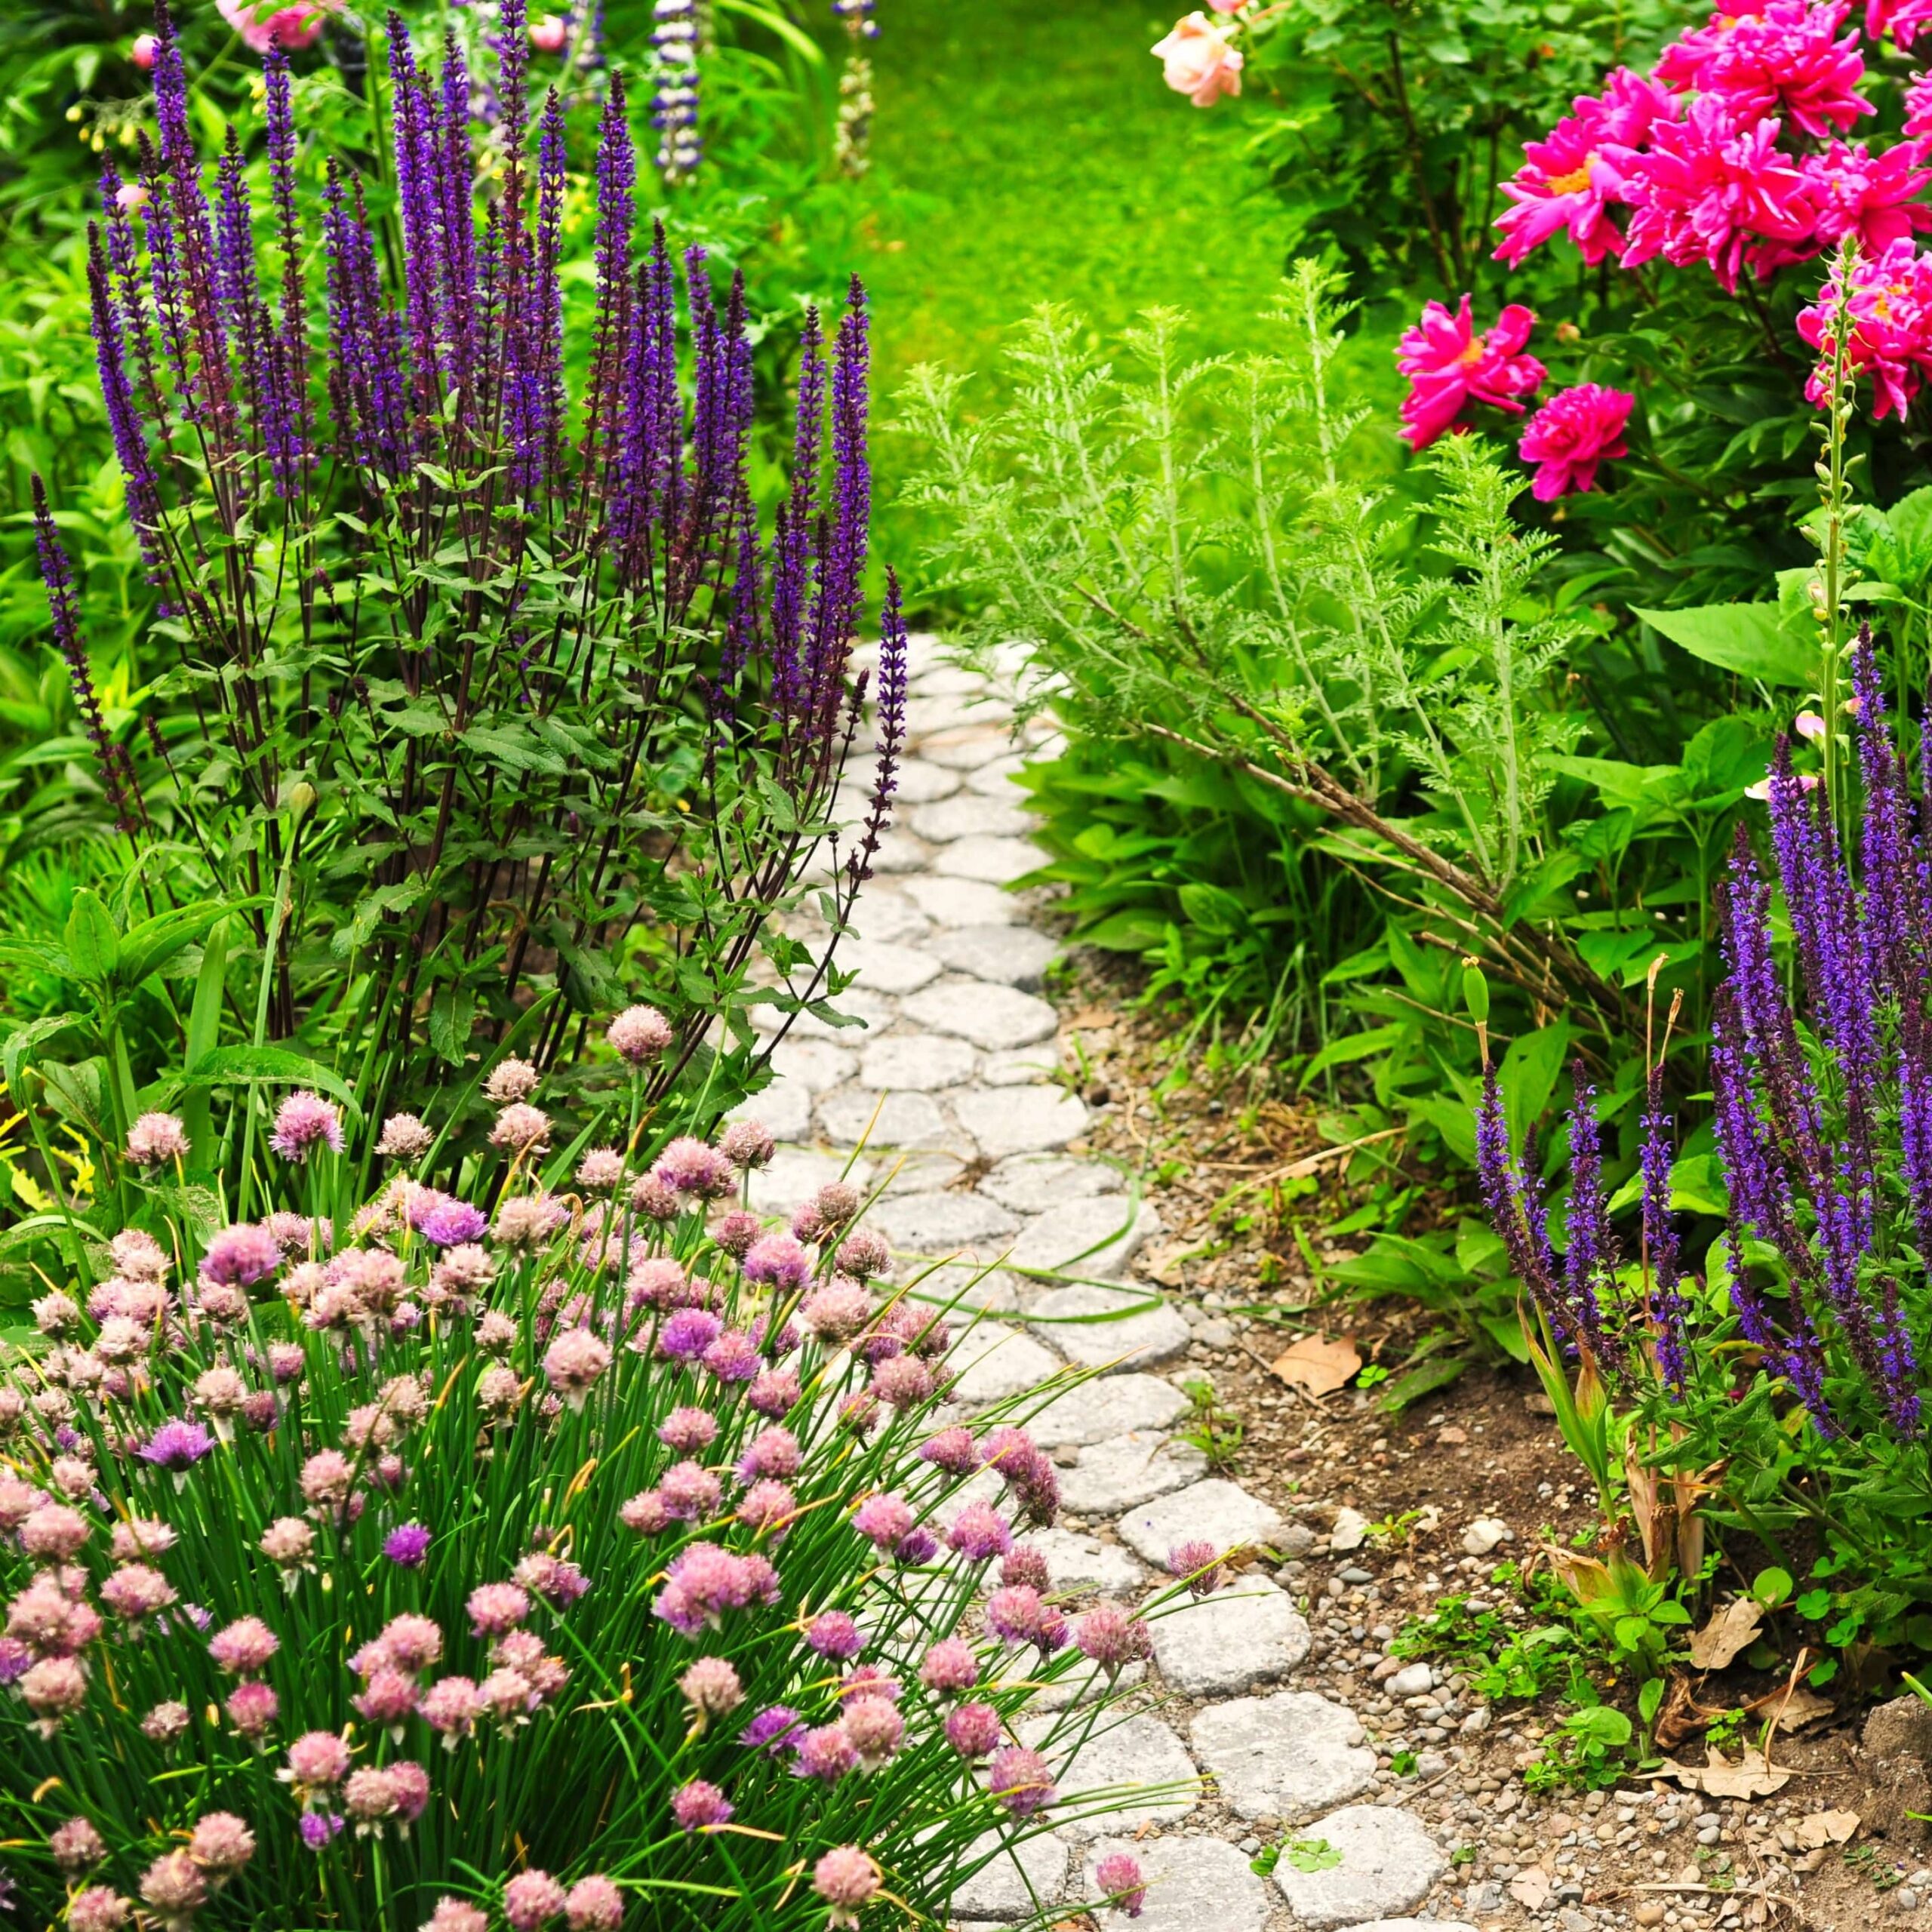
Planting and arranging your bedding display
Once you’re confident the frosts have gone, you’re ready to plant out. Pick a calm day, water everything well beforehand, and take your time with the layout.
A few things worth thinking about:
- Taller plants sit better at the back of a border, or in the middle of a container
- Trailing varieties along the edges soften the whole look nicely
- Thinking about colour groups beforehand saves a lot of rearranging on the day
Don’t cram things in too tightly, even if it’s tempting for instant impact. Plants given a bit of room to breathe will fill out much more healthily over time.
Ongoing care and maintenance
Bedding plants aren’t especially high maintenance, but they do appreciate a bit of regular attention.
- Water consistently, particularly during dry or hot spells
- Feed occasionally with a general-purpose fertiliser
- Deadhead regularly, removing spent flowers encourages the plant to keep producing more
- Watch out for pests, especially aphids and slugs, which can sneak up quickly
Look after them and most bedding plants will carry on well into late summer, often into autumn.
Enjoying the results
Growing from seed takes time, and there’s no getting around that. But each stage, germination, pricking out, hardening off, that first proper flower, feels like progress, and the end result is a garden you’ve genuinely built yourself.
Once you’ve done it one season, it tends to stick. It becomes part of the rhythm of the year: seeds in late winter, colour by summer, and the quiet satisfaction of knowing you grew the whole lot yourself.
29 April 2026
I completely agree, it’s such a rewarding experience to watch a little seedling turn into a beautiful flower. Starting from seed really does give you a special connection to the plant.